Synoptic Project Presentation

For my synoptic project, I chose to focus on a place or building of significant interest.

I chose to pick Atlantis, as many people spend their lives dedicated to the discovery of the city if it was real, and where it’s true location lies. This could be used in museums or documentaries of the theory of the city existing. The environment would be constructed in 3d and would be a fly through panning around the city.

I chose to do a version of the city as it was before it sank into the ocean, with structures similar to Greek architecture and in a realistic style. The city would consist of a road with the main temple, along with some small street market vendors.

I have chosen to do both the interior and exterior of the temple as well as the main street in front. Both areas would include elements consistent with the theory and document described by Plato in 360 BC that the Atlanteans were highly advanced for the time of the civilization and were renowned scholars. Most of which specialized in science, medicine or the arts.

The main focus would be the temple and it’s interior, and the street would be expanded on once tasks became complete. There would be plenty for people to complete such as decor items for the market as well as inside the temple itself.

Creative and Technical Modelling 2

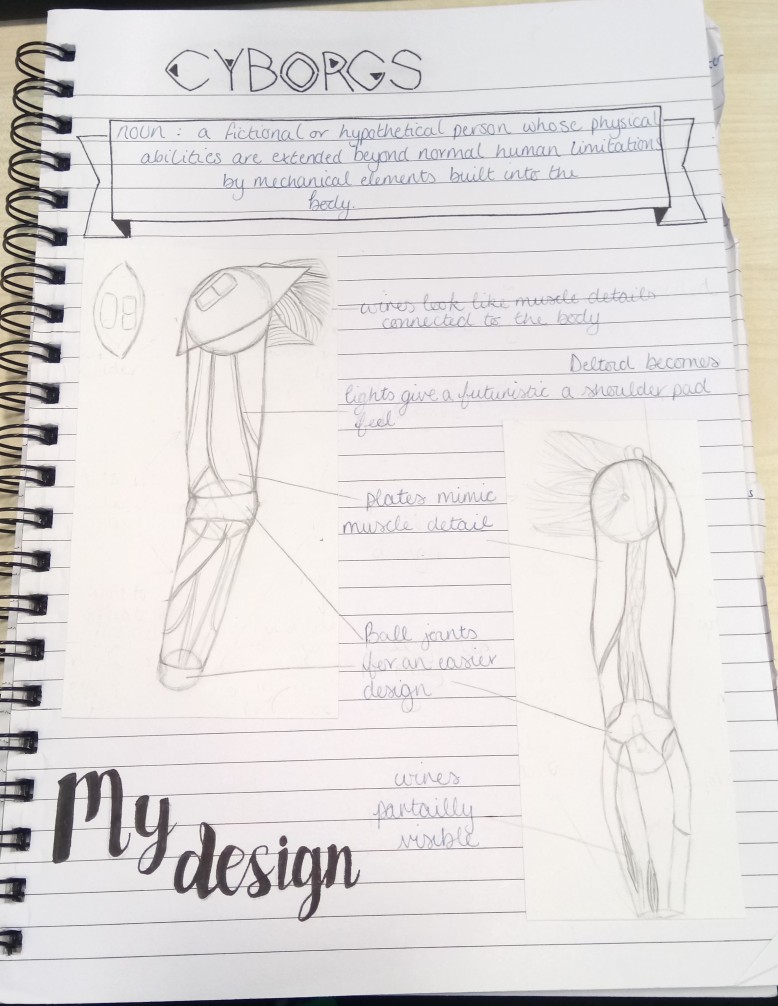
I have updated my design of the cyborg arm slightly.

Today I have begun to model the arm. I have started by constructing a low poly version I can take into Mudbox and add further detail to bake down. I followed a YouTube tutorial to get the general arm shape for the base, I then began to modify the model similar to my own design. So far I have added the shoulder plate as well as some wires near the wrist area.

So far I am happy with how the model is turning out. My next step will be to finalize the low poly version and take it into Mudbox.

So far, I feel like I could improve the model by making the wires more relaxed and not as rigid and unrealistic, as they don’t seem to look right on the model and look too stiff. I liked how the shoulder plate turned out, as it was easier than I thought it was going to be.

Creative and Technical Modelling

Today we were tasked to research and create an idea to become our final model. This would show our progress with modelling and would be our best model we have created. We were given suggestions and each finalized an idea.

My idea was to create a cyborg character. However, I thought modelling the entire character would be complicated, so I decided to start with elements and build it up from there. I started with the arm. I researched different cyborg arms and images associated with the idea to get a rough image in my head of what I wanted. I then began further research into anatomy and muscles of arms. Below is the mood board I created on Pinterest.

I sketched up some anatomy drawings to help give a better image to the arm, and to get my idea on paper. I began to add small elements in such as defining the shoulder blade to use as a panel of some sort. I didn’t know how I could make the joints robotic, so after looking at some actual robot arms I thought it didn’t suit my character well, so I instead looked at ball-jointed dolls, this would make the joints easy to model and also a simpler design if the arm was to be made in real life. I wanted to create panels on the front with the muscle paths etched in, Matt suggested adding lights in between the muscles as to help separate them and make them stand out more. It would also help give the overall arm a more futuristic feel.


Here are my sketches for my idea.

DSC_0230


Framestore Sculpt Challenge

Today we were challenged by the people at Framestore to take part in one of their work challenges, this was the Lunch Crunch. Each week they allow anyone in the company to take part in a sculpting competition using Mudbox. The only rules is a time restraint (we were allowed 2 hours compared to Framestore’s 1) and the model must start from a sphere. We were told the theme was ‘Express your unique talent’, I thought of character design and concept and my favourite game which I have played for a long time.

I chose to model the Nintendo Amiibo figure Celeste from the game Animal Crossing. She is my favourite character of the series, and the figures do not involve a lot of complex shapes and are relatively round in shape, making is easier to model.

I did run into some problems when modelling her arms as Mudbox crashes several times when trying to model them, however the rest of the model I am quite happy with. I think if the program hadn’t crashed I would have gotten further with the sculpt, maybe painting the model as well.

I would like to complete this model and will do so in my own time.

VR Experience: Google Earth on HTC Vive

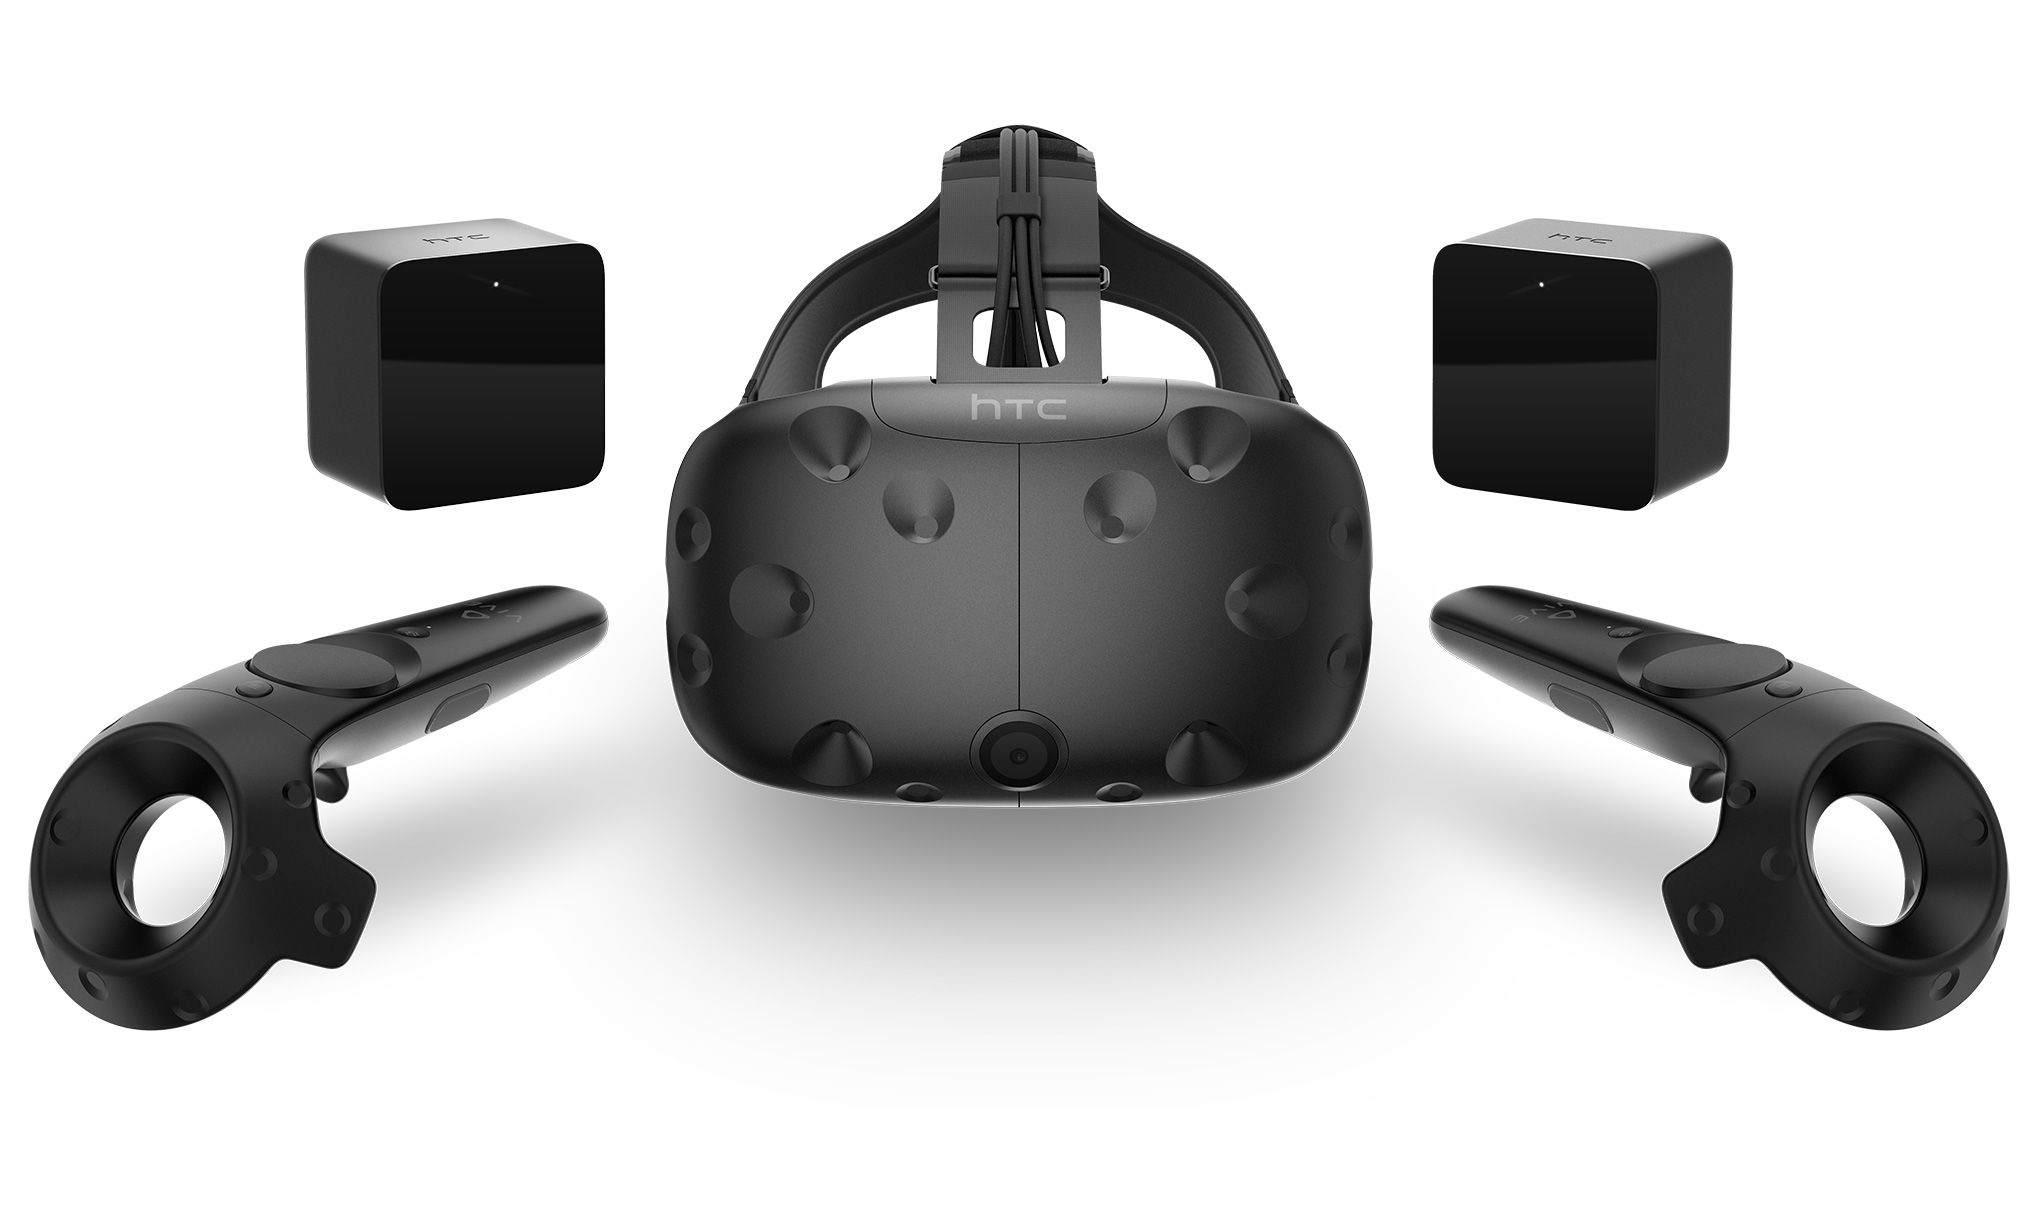
Today I had a chance to test out the HTC Vive VR headset in college.

The Vive is a room-scale virtual reality using a headset to view then environment and the hand remotes to interact with the surroundings. It was created by HTC and Valve. It uses 2 sensors to create a 3D environment in which you can walk around and interact.

Image result for vive

HTC Vive

I tried out the Google Earth program in order to visit some cities around the world which I have always wanted to see.

The program includes some key landmarks such as Big Ben, Statue of Liberty and the Tokyo Tower, however there was no search feature which I feel would improve the experience allowing the viewer to visit anywhere by typing in an address instead of starting at a location and trying to figure out which direction to try and travel in.

I did however enjoy my experience with the headset as it allowed me to visit several places I had always wanted to visit. I felt more comfortable sitting on the floor compared to walking around, as I didn’t feel like I was going to fall over and the experience of looking at the streets reminded me of a Street Play rug I used to have as a child.

Normal Mapping a model

Today we learned how to apply a normal map to a low poly model to create detail.  This started by creating a low poly model, a cube and turning it into a chest of some kind. By using a cube, it meant the UV’s were already in place and made the process easier. I chose to base mine from a child’s toy box. I chose to add text sticking out of the box which I had some trouble with when trying to Boolean. But it was successful in the end.

We then overlapped them and followed Matt’s tutorial on how to apply the normal maps. This was easier than I thought it was going to be. This meant we could add the geometry from the high poly model, convert it into a map and apply that to the low poly model. This would give the illusion on a high poly look on a low poly model.

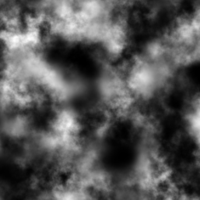
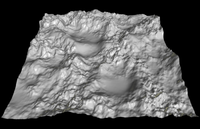
After finishing setting up the map. I baked the model which applied the map to the low poly model. This was successful and I am very happy with the output. This, below, shows the low poly model with the normal map applied compared to the high poly model as well as the map itself.


Different UV Maps

Normal Maps – Normal Maps are used to add more detail to a model without adding or using more polygons. It is used by manipulating the lighting to create bumps and dents in the model. Normal Maps store RGB images which correspond to the X, Y and Z coordinates of the surface normal.

Height Map – Height maps are commonly a raster image which is used to store values such as elevation on the surface of the model. This uses 3D data to create a shadow and creates depth in the model. This converts the map into a mesh which is added to the model. By using Gray scale images you can paint over it in Photoshop.


Bump Map – Bump maps create bumps and wrinkles to the surface of a model. This is caused by the map perturbing the surface of the object and using lighting calculations. This gives the model a more detailed surface rather than a smooth one without changing the actual model. They use the colour mode Gray scale.

UV Wrapping – Maya

Today we learned how to UV Wrap in Maya, but instead of a rigid body we used characters we had created. We used Matt’s model of a Turtle to complete this.

UV Unwrapping a character is more complicated than a rigid body. This is because with a rigid body, you can project all one way very simply. However, with a character you have to think more about which way the texture will project and how it will wrap around. Character models also have more complex shapes and polys than a rigid body, making UV wrapping slightly more harder.

First we removed the turtle’s shell before beginning to UV Wrap the body.

I think I have gotten better with UV Wrapping, especially in Maya. I did struggle at the start when I wanted to stretch some of the areas, however once Matt showed me what I had to do I got the hang of it. This made it easier for me to then quickly do other parts of the body as well.

I think I prefer Maya to 3DS Max for both modelling and texturing and UV Wrapping. I find it simpler to use as I struggled before in 3DS Max. But I think I have found this easier because I am already familiar with 3DS Max and how things generally work. I think I’ll enjoy UV Wrapping in the future when I model in Maya.

Spaceship Model – Maya

Today I had a chance to properly use Maya to create a 3D model. We were tasked with creating a vehicle of any kind. I came up with the idea to create a spaceship, a simple design that I could modify to make it more extravagant.

I started off by creating the body, this involved a cylinder and a sphere. I first increased the scale of the cylinder then decreased the height so it wasn’t as tall. This helped give it a more stream-line appearance. I then used a sphere for the main part of the ship, increasing the size and deleting the bottom half to create a more ‘dome-like’ appearance. I then chose to bevel the edges to give it a smoother look, then extrude the middle portion of the ship to add more detail. I finally copied the larger sphere and decreased it’s size to use as surrounding detail on the body of the ship. I repeated this several times.

I then decided to add thrusters onto the bottom of the ship, as the ship would need boosters to move around. I started off with the main part which would attach to the ship. This consisted of a cube, which was then stretched and a small section near the top created to make the arm. Again, I used bevel on the edge for a smoother appearance. I then used a similar technique to the spheres on the spaceship’s body to create the main thrusters. However, I continuously extruded and beveled the edges to give more detail. I then attached the two objects to create one. I then created a mirror image of the model to create two.

I then adjusted their placement on the ship. Finally connecting all objects together to create one model.

I found Maya slightly easier than 3DS Max, which I used previously. I think it has a simpler layout and this helps you find what you need quicker. I ran into few problems using the program to create the model, which I think helped quicken the overall process. Overall, I am pleased with my process and my end result, which turned out better than I imagined.

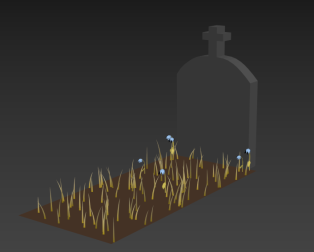
Tombstone Model – 3DS Max

This is my model which I created in 3DS Max.

After not modelling for a while, we were tasked with creating a small model centered around the horror theme. I chose to create a classic grave scene, complete with tombstone and dying flowers.

Grave1

I did run into a few problems during the modelling process. This included the creation of the flowers, as the petals would lose their center pivot which was frustrating, Matt then came over to help me re-center the pivot which made the rest of the process easier. Another problem I had was the creation of the grass, I did not want to model a single blade as after duplicating the poly count would increase. Allan, a classmate, then showed me a method to create ‘hair and fur’ on a plane, making grass easier to create on a model.

I am happy with how it turned out and would like to improve in the future by learning different techniques to make a more complex model in the future.